Space ُEffect
Fabio Sasso
download PSD file for this tutorial
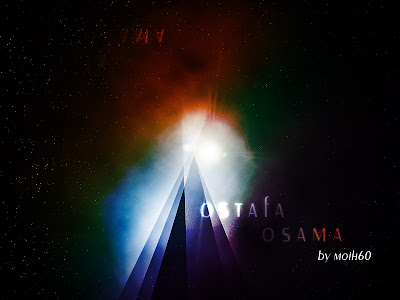
الصوره النهائيه
Step 1
Create a new document, (800x600 pixels) so I can use it as a wallpaper later. Add a new Layer and fill it with any color then go to Layer>Layer Styles> Gradient Overlay. You can add a gradient layer as well, I simply prefer the Layer Styles.
Step 2
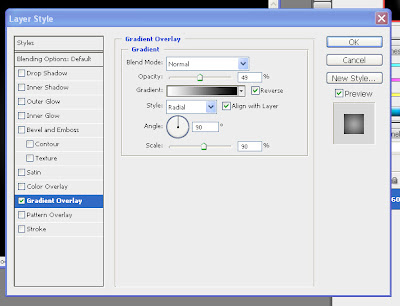
as explained in the image below adjust all measures as the imageblending mode>>normal
opacity>>50
radial style with angle 90 and scale 90
Step 3
Create a new layer and fill it with white, then go to Filter>Render>Lighting Effects. Change the style to RGB lights. Use Negative 60 for the Intensity, Narrow 96 for the focus, and for the other options keep the same.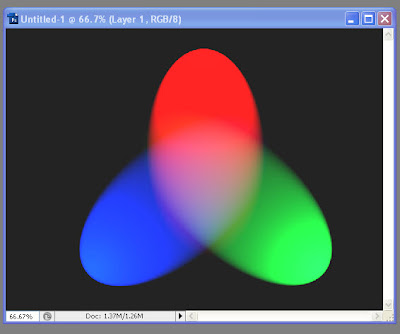
Step 4
Lets add some blur, go to Filter>Blur>Gaussian Blur. Use 80 pixels for the Radius. The last thing here will be change the Blend Mode to Overlay. Doing that the RGB color will be hardly visible but later on with the other layers it will work
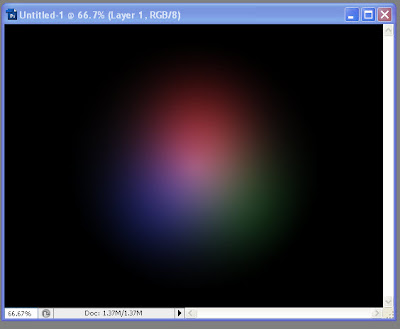
Step 5 - Creating Stars
Creating Stars in Photoshop is something really easy. Create a new layer, fill it with black, and change the Blend Mode to Screen. After that go to Filter>Noise>Add Noise. Use 10% for the Amount, Gaussian for the Distribution and select Monochromatic. You will have a layer full of noise, then to create the start just change the levels of the layer, go to Image>Adjustment>Levels. For the Input Levels use 65, 1.00, 99. Doing that you will increase the black so just the bigger dots will appear, also you will increase the white, making the dots that appear brighter.
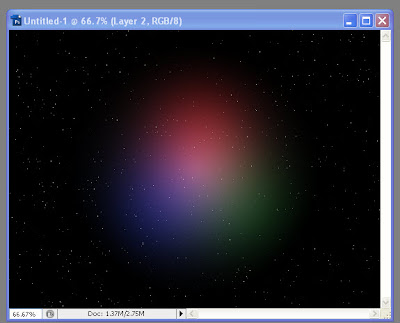
Step 6 - Nebula
lets create the Nebula. To do that create a new layer and go to Filter>Render>Clouds. Make sure that your color were black and white for the background and foreground. Then just add some Layer Styles to do that go to Layer>Layer Style. First over the Blending Options, change the Blend Mode to Overlay. After that select Gradient Overlay. use Overlay for the Blend Mode and for the colors use a Cyan, Green, Yellow, and Red or whatever you have . Also change the Angle to 130º and the Scale to 49%.
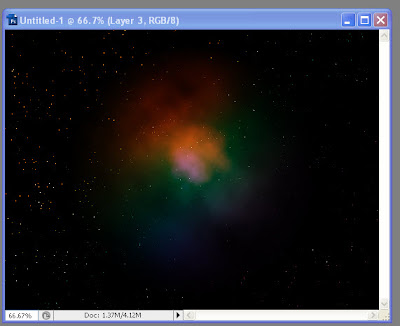
Step 7 - Lens flare
First, lets create a new layer and fill it with white, however, this time, add this layer in front of the background and beneath the other layers: (Stars and Nebula). Now go to Filter>Render>Lens Flare. For the settings use 100% Brightness and use 105mm Prime for the Lens Type.
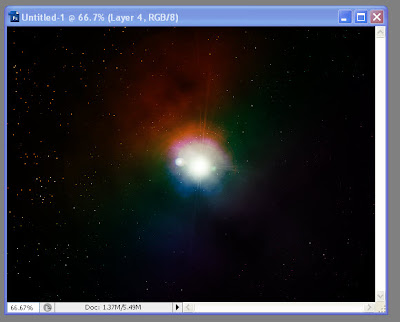
Step 8 - Rays of Light
Now lets create the "M" of ray of lights. So create a new layer in front of the Lens Flare. Then select the Rectangular Marquee Tool (M) and create a rectangular including the lower half of the image. After that select the Brush Tool (B). We will use a very big brush, 800px diameter and hardness 0%. Select white for the color and with just like a a bit of the brush inside the marquee (red circle) give a few clicks on the mouse button.
يعني اعمل سيلكشن علي الجزء الاسفل من الصوره بعد كده اختار فرشه كبيره مقاسها 800 او اكتر حتي تصبح الفرشه تاخذ جزء في الصوره كما في الصوره بعد ذلك اضغط 2 او 3 كليك
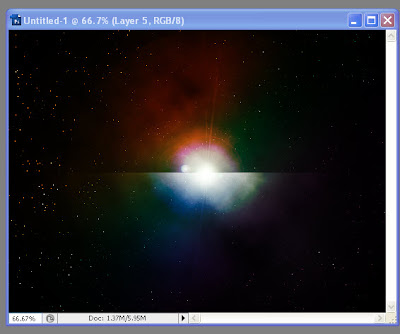
Step 9
Now it's just about duplicating, resizing and rotating. The tip here is convert the original ray of light layer to Smart Objects, so you will be able to resize and rotate in a non-destructive way. After you create the "M", change the blend mode of the elements to Screen and use 80% opacity.
after make such ray in the new layer >>its time to duplicate ,rotate and resize these rays til u have your shape
Step 10
And the final image will be like this


13 November 2008 at 07:42
ايه يا عم البلوج السكه دي كلها دروس تعبانة أخر حاجة معندكمش حاجة جديدة , عايزين درس تصميم اريال تمن كيلو لو سمحت
Post a Comment