GLOW effect
Posted by
moih60
Labels:
GLOW effect
Let's Start
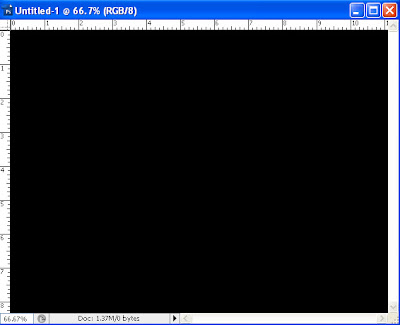
Step1: first make anew layer adjust it 800*600 pxs And fill it Black colour
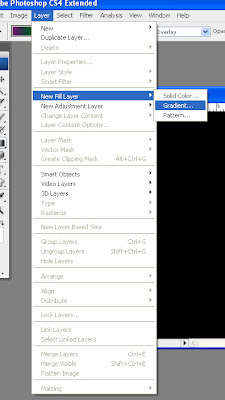
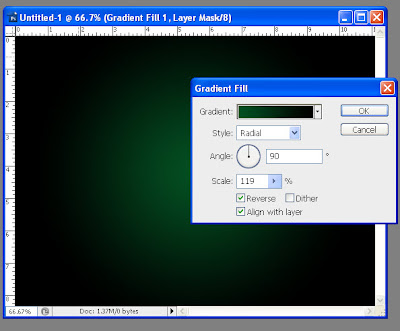
Step2: go to Layer > New fill layer > Gradient ...And adjust the parameters as the pic. below with Radial Style
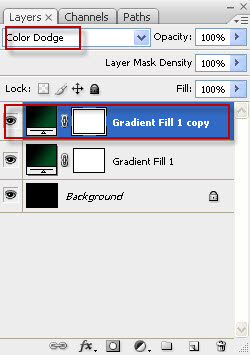
Step3: Then Duplicate the gradient layer as shown in the pic. And change the blenf mode to Colour Dodge as it will increase the lighting effect in the image
Step4: Make anew layer name it "Clouds" and on it go to Filter > Render > Clouds
and note that the foreground and the background are White abd Black
u can do it by press D
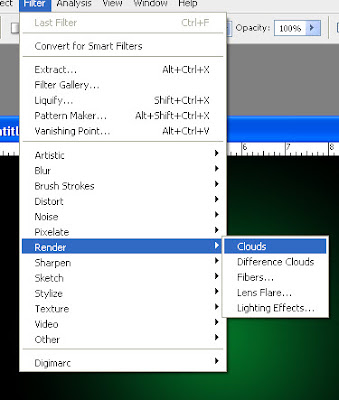
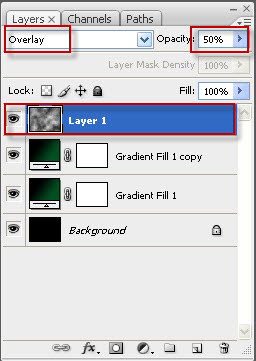
Step5: then change the blending mode of the Clouds layer to Overlay and the Opacity to 50%
so u can get image as shown below
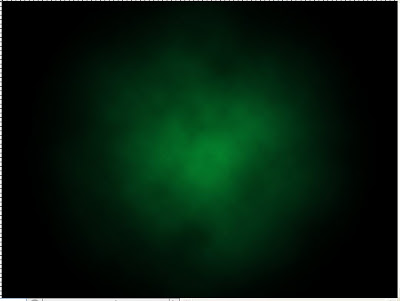
Step6: Make ur shape
First make anew layer name it "Shape" use only the Pen TOOL(P) and make ur shape or latter with it as shown in pic. below after make the shape
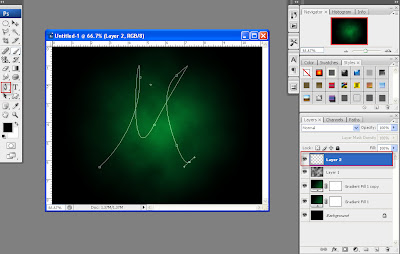
Go to Brush(B) and select Soft brush 3 pxs
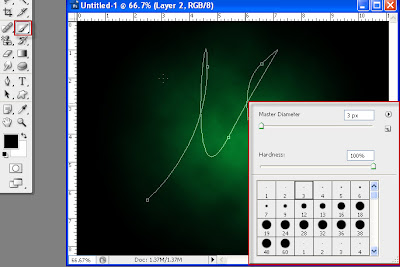 Then Return again to Pen TOOL(P) and press right click on the shape and select Stroke Path
and adjust as the pic. below as chose Brush and without stimulate pressure
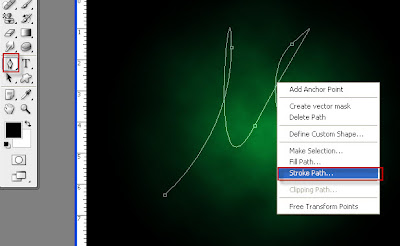

U WILL HAVE IMAGE LIKE THIS
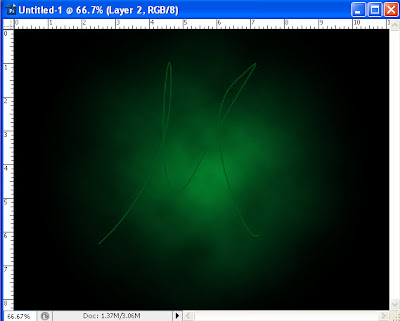
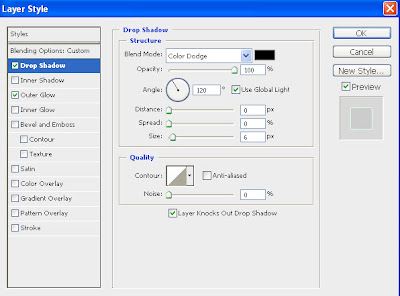
Step7: for the layer Shape adjust the Blending Option as the images below
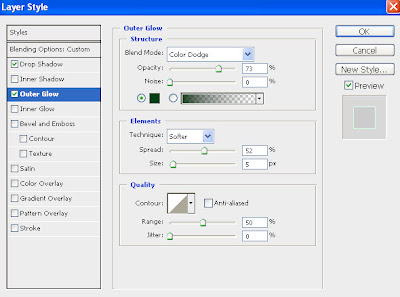
Step8: Then make new layer name it "Blue" and go to Layer > New fill layer > Gradient
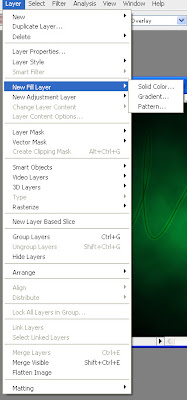
Make the parameters as follow Radial style with Angle 35 and Scale 126 and note that the colour is light blue with invisible colour as shown in pic. below
NOTE :the most important part in this tuts u have to move the gradient to the corner of the image to give such great colour
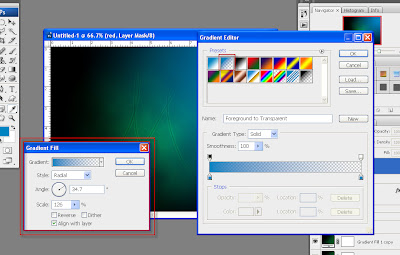
Then change the Blending Mode to Color and u can also play with the Opacity to reduce it ((it will give good effect))
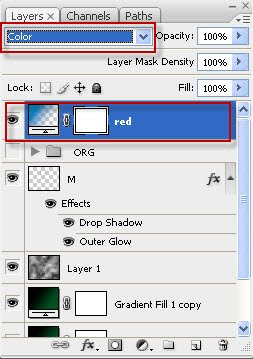
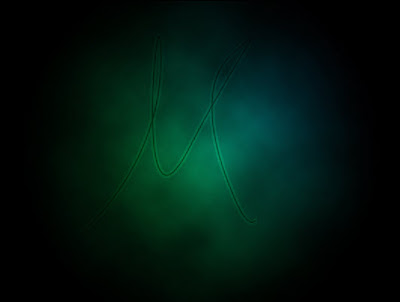
Step9: make anew layer and name it "Red"and go to Layer > New fill layer > Gradient
Make the parameters as follow Radial style with Angle (-158) and Scale 126 and note that the colour is heavy red with invisible colour as shown in pic. below
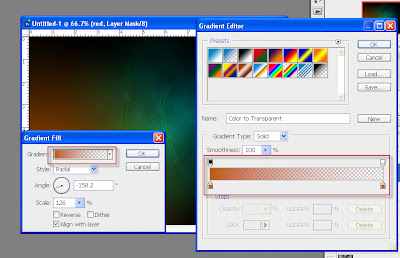
And aslo do not forget to move the gradient red layer to the other corner
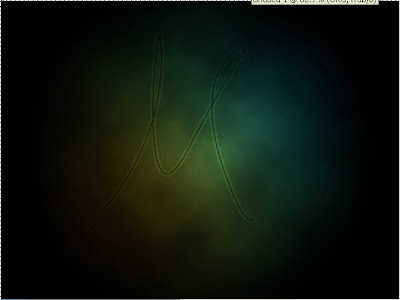
Step10: U can add some text to ur design but first adjust the Character Properties as below to give good distances bet. letters
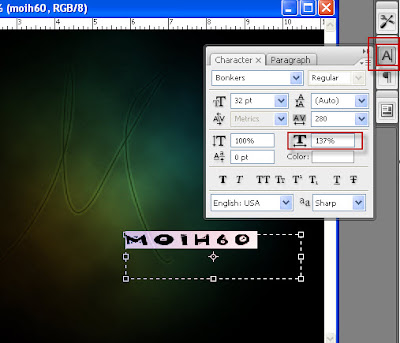
Step11: Learn how to copy layer style
Now U have to give the text u made the same Blending Option of the Shape layer so save ur time only do right click on the Shape layer and select Copy Layer Style
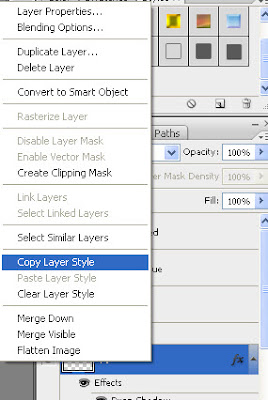
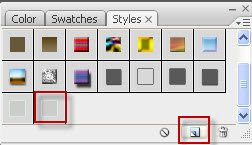
Then on Styles pellets as shown and then Create New Style at the bottom of the image below so that new layer style will created
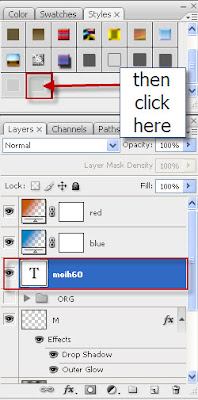
Then select Text layer and press the layer style u paste in the Styles pellets as shown in image below so that they have the same blending option as Shape layer
Final Image :U can make ur Glow increase by Duplicate the Shape layer twice or more so that the final image will be like this

Subscribe to:
Post Comments (Atom)


Post a Comment